Check how the image was made
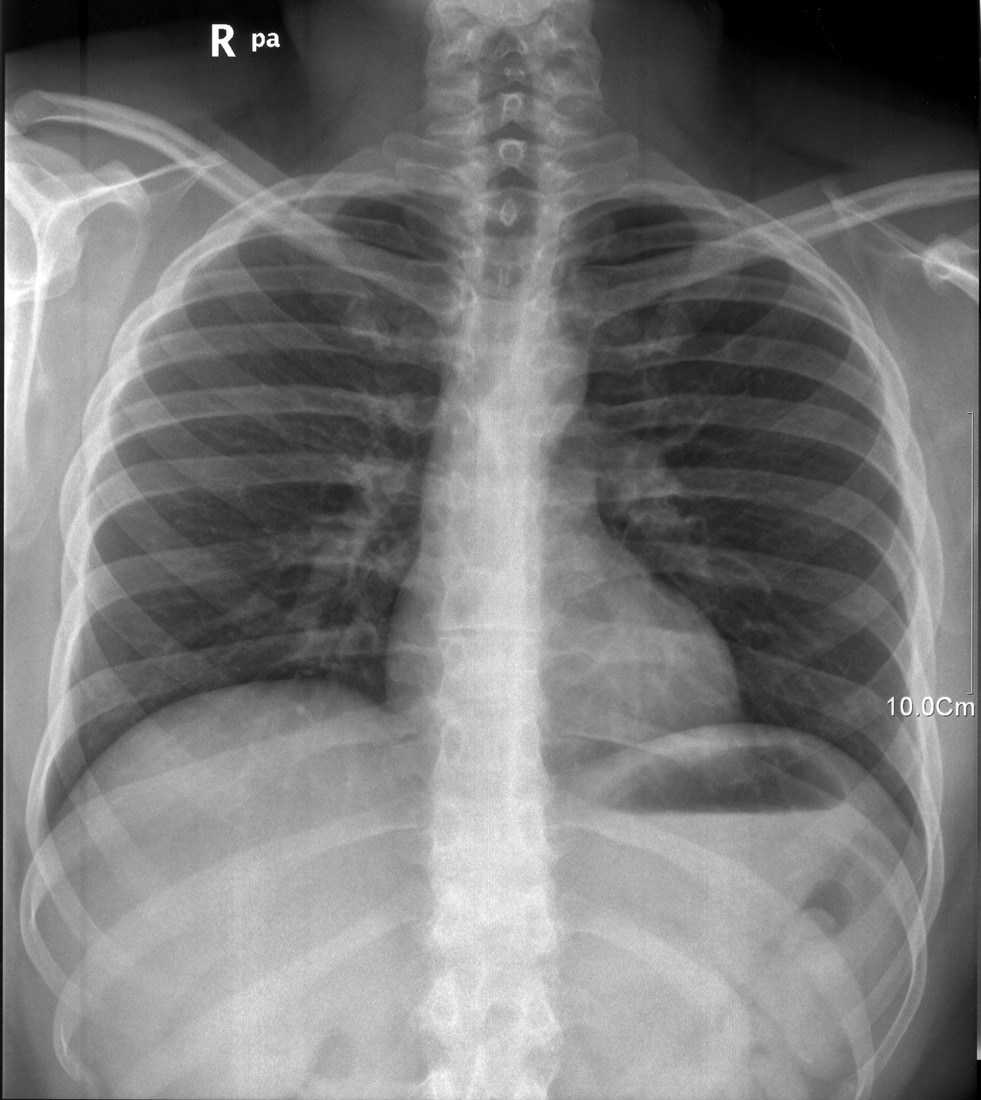
A chest radiograph is a projection through overlapping tissues. Begin with the patient identifier and side marker, then consider whether it is a posteroanterior or anteroposterior view. The latter can magnify the heart because of geometry, particularly on portable images. Rotation, incomplete inspiration and exposure also affect appearances. A seemingly large heart or dense lung base may partly reflect technique. This is why describing an image starts with its conditions rather than assuming every difference represents disease. The example should be interpreted as an orientation exercise.
A systematic chest review
 Open diagram larger ↗
Find the main landmarks
The lungs are relatively dark because they contain air. Branching vascular markings extend from the hila, where vessels and airways enter and leave each lung. The trachea is an air-filled central passage above the , where it divides into main bronchi. The heart and mediastinum form a lighter central silhouette, usually extending more to the patient’s left. The diaphragm forms domes below the lungs, with the right often slightly higher because of the liver. The lateral costophrenic angles are where diaphragm and chest wall meet.
Use a repeatable search
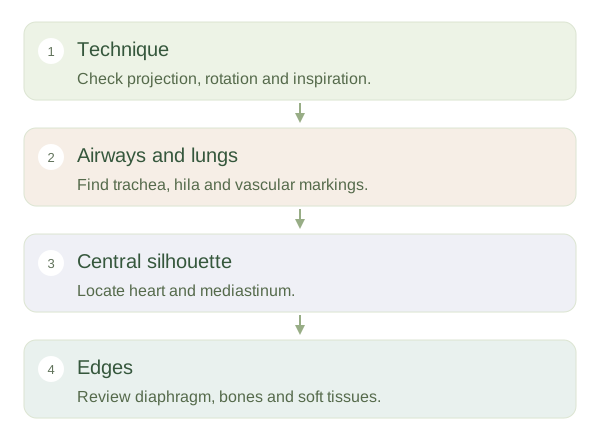
A systematic review considers airways, lungs, central silhouette, diaphragm, bones and surrounding soft tissues. Compare sides while remembering that normal anatomy is not perfectly symmetrical. Ribs and clavicles overlap the lungs, and breast or other soft tissue can alter density. A normal-looking chest image cannot exclude every chest disorder, especially early disease or findings poorly shown by this technique. The useful achievement at this stage is recognising normal relationships and technical limitations. Clinical interpretation requires the full study, relevant history and trained assessment, rather than matching one isolated patch to an online picture.