A tiny sample of a larger structure
studies tissues at microscopic scale. For many routine slides, a sample is preserved, embedded in a supporting material, cut into very thin sections and placed on glass. A light microscope sends light through the section. Because most unstained tissue has little visible contrast, dyes help separate its components. The preparation provides an organised view, but it is not living tissue behaving in real time. Some structures can be altered, dissolved or distorted during handling, so the image must be read with the method in mind.
From tissue to slide
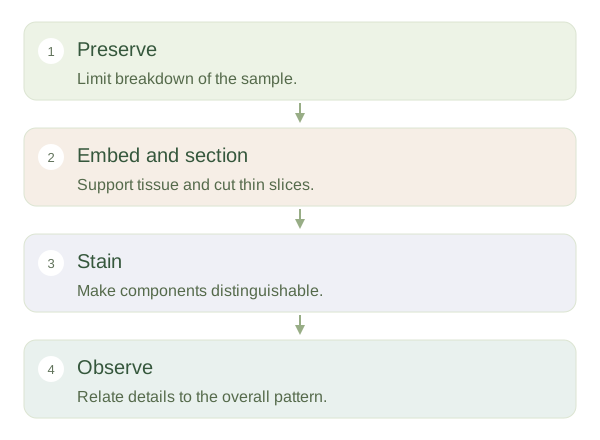 Open diagram larger ↗
Stains make patterns visible
A common stain combination is haematoxylin and eosin, abbreviated . Nuclei often appear blue-purple, while much cytoplasm and extracellular protein appear pink. These are staining tendencies, not the natural colours of the body. Special stains can highlight collagen, mucus or other components, while immunohistochemical methods detect selected molecules. Magnification enlarges a view, but determines how close two objects can be while remaining distinguishable. A larger blurry picture does not reveal additional genuine detail merely because it is bigger.
The cutting plane changes the shape
A tube cut across looks like a ring; cut along its length, the same tube can resemble two parallel walls. A spherical object may appear as circles of different sizes depending on where it is sliced. Begin at low magnification to find the overall organisation, then inspect selected areas more closely. Look for boundaries, layers, lumens and repeated patterns before naming every cell. One section may miss a structure entirely. therefore requires reconstructing a three-dimensional arrangement from a two-dimensional sample, while allowing for the effects of preparation and orientation.